Table Of Contents
There are a number of reasons why you might decide to render your home. They may be looking to add an extra layer of external wall insulation, they might be trying to provide their property proper with weather protection or they may simply just want to improve the curb appeal and property value.
Whatever the reason, once someone decides to render their home, they will need to decide which type of render to use. There are 7 main different types of render to choose from, all with their own pros and cons and different levels of maintenance.
Check out: Using accent walls to add style to the home
Typically, sand and cement render will be made using a mixture that is 1 part cement, 1 part lime, and 6 parts sand. This makes it a relatively inexpensive rendering material, which is why it gets used so frequently.
Sand and cement render can be really good. It can produce a smooth and aesthetically pleasing finish, it can be made in a number of colours and textures, it is reasonably weather resistant and damp resistant, and it's cheap.
The downside, though, is that cement rendering does not last particularly well. The materials used do not owe themselves to being particularly flexible, and as such they do tend to crack and shrink. This makes it one of the higher maintenance renders. Cement render will need replacing and re-rendering relatively frequently, and may also need repainting if chalking occurs.
Whilst cement rendering is cheap, sand and cement render is often considered one of the worst rendering materials to use in terms of cost-effectiveness and maintenance requirements.

Lime render is the most breathable rendering material out there and works on most rendering projects. It is arguably the best out of the different types of render for rendering wooden framed or period houses as it is super flexible and can change as required. It is slightly more modern than some of the other traditional cement renders.
Made out of 1 part lime and 3 parts sand, lime render is most frequently used to cover low-quality walls like porous exposed brick. It is sometimes used as an undercoat to finish the surface.
The benefits of lime render are that it is very sleek, easy to repair, provides proper weather protection, is a good option for external wall insulation, protects against dampness and is less likely than sand and cement render to crack. Lime render is much more crack resistant than cement render because of its flexibility.
This makes it a lower maintenance rendering material. It is likely to need washing occasionally, and will after around 7 or 8 years need re-rendering, but it will outlast cement render for sure.
Check out: The rustic appeal of brick wall interiors

Acrylic render is a much more modern rendering technique. It, like other modern renders, can be costly but is usually worth it. It is a mixture of cement and plastic, adding much-needed flexibility to the cement render.
Acrylic render is often considered one of the best rendering techniques out there, and for good reason. It's weather resistant, it dries fast, provides a smooth finish, is crack resistant, breathable and durable. It lasts much longer than traditional cement render, despite being a cement-based render, meaning that whilst it is more expensive you do tend to get more for your money.
When it comes to maintenance, acrylic renders will need to be cleaned periodically with a pressure washer and a mild detergent. This should remove marks and stains. If there are issues with things like algae, a fungicide wash can be used.
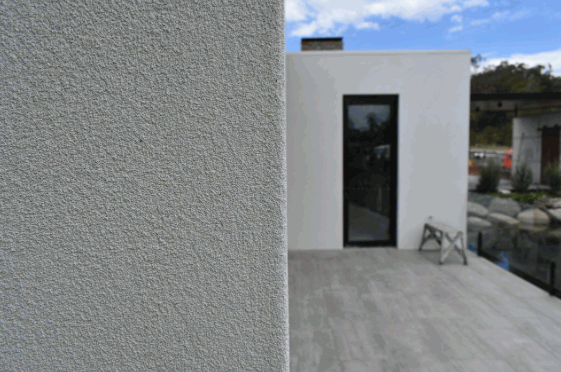
Monocouche is a dry powdered render with a coloured pigment. It is super breathable and for that reason it is one of the most commonly used types of render in the UK. There are a number of monocouche brands available to homeowners, including:
Monocouche rendering has a chalky finish, and is sometimes compared to sand and cement render as a result. But in reality, they are very different. Monocouche render is easy to use, requires no paint, lasts up to 10 years, is sufficiently weather resistant, provides external wall insulation, is flexible, and the colour in the render will remain bright for the entire 10 years.
To maintain monocouche render, you must use a mild pressure washer and a light detergent, just like with acrylic render. Do not use the pressure washer on too high a setting as it can damage the house rendering.
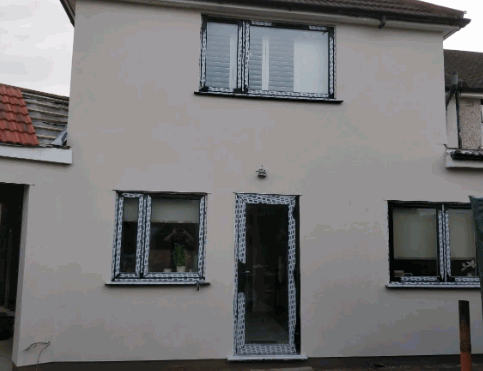
Silicone render is often considered one of the best types of render out there. It is incredibly crack resistant and it can be applied as a very thin coat. It is super effective, but it can be quite costly. As a render silicone render does still have some issues but generally is more durable.
Silicone render is easy to apply. The render adheres very well, and the process is much less labour (and subsequently fewer labour costs).
The benefits of silicone renders are that they are highly durable, crack resistant, self-coloured, breathable, easy to apply and it also does a great job at protecting properties from the natural elements.
Silicone render is similar to acrylic renders, and both acrylic and silicone renders can be cleaned using a pressure washer and mild detergent as and when necessary.

Clay render is sometimes called the earth render, and it is a cement free render for house rendering projects. It is an incredibly traditional render and is usually made from water, clay and sand. Sometimes, in the past, animal dung and straw was added.
Clay render is not common now, as it does not provide any protection and it is not an appearance that many people opt for.
Polymer render is a cement render that adheres well to all the surfaces. It is designed with adhesion in mind. It provides extra waterproofing and is often used in bathrooms or laundry rooms.
Table Of Contents
uPVC windows are very common in a range of properties, and for good reason. They're inexpensive, easy to maintain and, when the time comes to change them up, you can paint uPVC windows pretty easily! They are, in essence, plastic window frames, and as such can be painted with specialist paint to almost any colour that you want. Whether you're after something trendy and intend to paint your white upvc windows grey, or whether you're just freshening up your brown upvc windows, getting your uPVC windows sprayed is a great way to refresh the appearance of your home.
When you decide to paint plastic window frames, however, you will need to clean your uPVC windows first in order to get the best results. This is a key step when you start to paint uPVC windows, and failing to do it could result in a low-standard paint job.
Once you've decided that you're going to spray paint your window and door frames, you'll need to gather all the equipment you need, including the stuff to adequately clean and prepare your uPVC window sills and window frames. You will need:
When you're ready, you can begin cleaning. Simply follow these steps to prepare uPVC windows for spray paint or brush paint to ensure that your newly painted windows will look as good as you want them to. You can also use these steps to paint a uPVC door or uPVC door frames.
Check out: Wood and windows in hallway

The first thing that you need to do when getting ready to paint uPVC windows is remove anything stuck to your window sills or window panes. This might be bird feeding boxes, planters, stickers, hanging baskets - whatever you've got hanging from or obscuring your window frames needs to be removed.
Then, once your uPVC windows are free of their furnishings, you can use a hard bristle brush to sweep away any dirt or debris. This might be sand from the air, soil from planters, cat hair, dust, grass, etc. Simply sweep it off of the uPVC windows so that you can continue to paint uPVC windows without any marks beneath the paint.
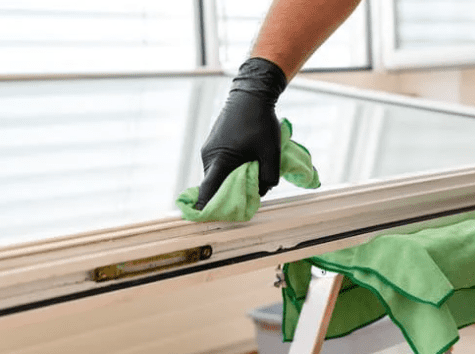
Simply dusting your uPVC windows is not enough to prepare uPVC windows for painting. You will also need to clean your window frames with a wet cloth. Dip your cloth or rag in warm water with a small drop of detergent or soap in, and simply run it up and down the uPVC window frames to remove any marks, dirt or ingrained muck from the plastic window frames.
uPVC has a waxy and smooth top layer to help it look good. However, when you try to paint uPVC windows, this can just get in the way. It does not allow the uPVC paint to adhere to the surface properly, and will cause your uPVC window frames to look a little tatty after you've finished painting uPVC windows.
To remove it, use either light sandpaper or a scouring pad and rub the uPVC surface all over to wear away the waxy layer. This should not take too long and will really help spray paint or normal paint to adhere to the surface.
This is optional, and you can likely get a great standard of paint job even if you skip this step. Using uPVC cleaner will, though, help to ensure that you get a completely smooth finish. It's a great tip when it comes to cleaning uPVC windows for painting, and is super easy to do.
Simply use a drop or two of uPVC cleaner and run it over the uPVC windows with your damp cloth and then rinse.
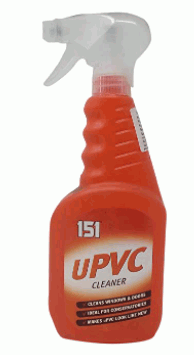
Once you've done all of the above, it's time to try the window frames using a dry cloth. You can just leave your windows to dry naturally, but if you intend to paint uPVC windows that day, you may wish to dry them with a cloth for speed. You can also buff the surface in this step if you so choose.
Once the cleaning is done, you can get on with painting uPVC windows. To do so, you will need:
When you have all of that ready, you can begin to paint uPVC windows.
Once you have done all the work to prepare uPVC windows and you're ready to break out the paint, there are a few things that can really make the difference between a good uPVC paint job and a bad one. If you're going to paint uPVC windows to make your home look better, or you're painting uPVC windows to improve the value of your home, then follow these tips to make painting uPVC an easier and smoother process.
Check out: Chic urban australian home living
When you paint uPVC window frames, you can choose between hand painting your uPVC window with a brush or using spray paint to paint uPVC window frames. Spray paint is, by far, the best option. It's quicker, smoother, and easier to apply even layers. It's also better for use on uPVC doors as it gets more area covered in a short time span.
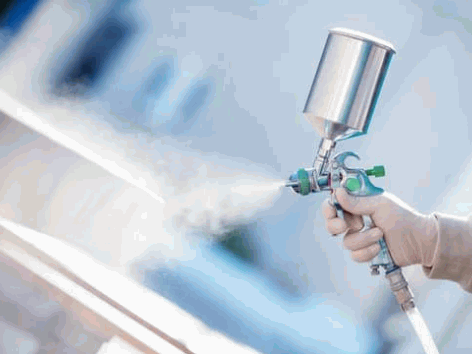
Once you've applied primer, you should apply a first coat. From there, let each coat dry and continue to pile the coats on top of one another until your uPVC windows are a colour that you like. When painting uPVC windows, you will likely find that the colour deepens with more layers, so you can keep going until the colour is just right for your uPVC window.
Table Of Contents
Cleaning a pram is essential, but it does often get put off. It's not the most obvious task when it comes to the list of to-dos for people with children, so it's easier to just ignore the job altogether until it really needs doing. But when it does really need doing - how do you do it? Here's everything you need to know about cleaning the pram fabric and getting it to look as good as new.
To clean the fabric parts of your pram, there are a few things that you'll be needing. It's worth sourcing all of these items before you start to clean a pram, as it will make the cleaning process much easier for you. You will need:
Most of these items you should be able to find in your home, if not your local supermarket - it's such an easy list!
Check out: Modern organic sustainable living home
A lot of fabric parts on baby strollers can be removed from the frame entirely. This is so that it isn't too hard to clean a pram. The first step in cleaning a pram is to remove these parts from the frame entirely. This makes it much easier to clean them.
Once removed, check the fabric sections to see if they are able to be machine washed. Some fabric will be, and some won't be.

Should you find that the fabric is safe to be machine washed, you'll need to follow the label's instructions very closely. These will usually state that the fabric requires a gentle cycle and cool wash in the washing machine with a mild detergent.
Before popping the fabric into the machine, give it a gentle brush and shake to remove loose dirt. For dirt in things like seams or folds, you may need to use a vacuum cleaner. Then, pop the fabric into the washing machine and turn it onto a cool wash.
Once the washing machine has finished, take the fabric out and put it out in direct sunlight to air dry.
If the label says that the machine can't be washed in the washing machine, you should fill a bowl with some warm soapy water. Once you've brushed the fabric down with a small fabric brush to remove loose crumbs and loose dirt, you can place the fabric in the hot soapy water. You can leave this to soak and use a scrubbing brush and some stain remover if you find that there are stubborn stains on the material.
Once you're satisfied with the state of the fabric, you can remove it from the hot soapy water and leave it out in the sunlight to air dry after squeezing out any excess water. This will minimise the risk of the material shrinking.
Check out: Can you dye leather jackets?
There will likely be a few parts of fabric that you can't remove from the frame. These still need to be cleaned. You can clean these elements of the pram using warm water and soap or disinfectant in a spray bottle.
Spray the warm water mixture onto the material and wipe it using a clean cloth. Alternatively, soak the cloth in the spray and clean the fabric that way instead.
As with fabric that you rake off of the pram, this material will need you to ensure that it is completely dry before you begin to reassemble the baby stroller.

It is just inevitable that your pram will eventually get stains or stubborn marks. Children are messy, and they tend not to really pay a lot of attention to what they're doing! As a result, prams are often subject to a lot of dirt and muckiness.
When this happens, it can be quite frustrating - especially on lighter coloured prams! But there's no need to fret, it's easy enough to remove stubborn marks with a natural stain remover and get your pram looking as good as new in no time at all.
One of the best ways to remove mould stains and stubborn marks is to mix a concoction of three parts white vinegar and two parts water. Mix this into a bowl or a spray bottle, and simply apply the gentle disinfectant spray onto the fabric. Rub it gently with a clean cloth, and rinse with warm water.
You might find that it is more useful to leave the cleaning solution to soak into the fabric for a while before rinsing. Likewise, if one go doesn't work, you're likely to find that a few more attempts will make a world of difference!
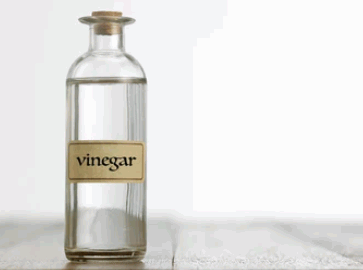
If you've got smaller stubborn stains and marks, you can try to use lemon juice and salt to remove them. It's a great natural stain cleaner, and can do wonders on things like food stains.
Simply apply the lemon juice onto the stain or mark and then pour some salt onto the mark. Rub it gently with a cloth and then leave it to soak for a little while. When ready, rinse the lemon and salt away and leave the fabric to dry out in the sun.

Cleaning the plastic parts and the metal frame of the pram is simpler than the fabric parts. You can use a mild disinfectant, warm water and a sponge, scrubbing brush or cloth. Simply be sure not to scratch any metal surfaces in order to try and prevent rust from forming on the frame.
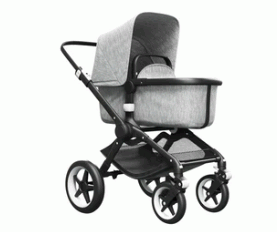
Table Of Contents
Laminate floors are a great option for homes if you don't want carpet but don't want to put down any dramatic hardwood floors. They are, however, a little bit more sensitive than other flooring types, and as a result, have to be cleaned very carefully. This leaves a lot of homeowners and renters alike wondering how to clean laminate floors without damaging them. Here's everything you need to know about getting your laminate floors bright and pretty again.
Laminate is not as simple as wood or carpet, and so most laminate floors will come with manufacturer's instructions to help you maintain your laminate flooring. The manufacturer will likely provide a series of specific recommendations that are the least likely to damage the materials used to create the laminate floors.
It is always a good idea to familiarise yourself with these instructions as soon as you can once your laminate floors have been fitted.
Check out: Concrete floor
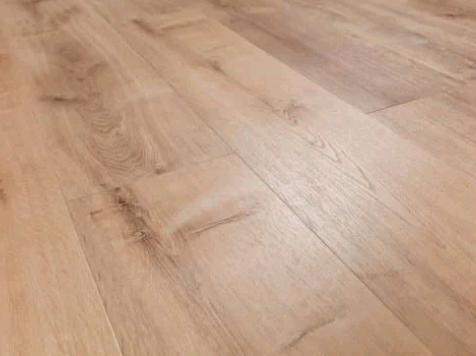
Regularly cleaning laminate floors can be really beneficial in maintaining their natural look. You can carefully mop laminate floors with a damp mop (sometimes referred to as a microfiber mop). Just be sure that you do not use too much water. You want the damp mop head to be almost dry when you use it to save from damaging the laminate.
Arguably the best piece of advice for cleaning laminate floors is to be sure that you act fast on any drops or marks on your laminate wood floors. Laminate can stain, and those marks can be much harder to remove. To prevent yourself from having to fight to remove stains, you should be sure to keep a watchful eye on what gets dropped or spilled onto your laminate floors so that you can clean laminate floors as quickly as possible.
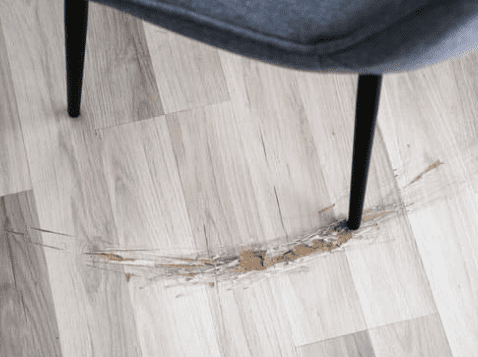
If you tend to move things around a lot, this tip is particularly useful. Laminate floors scratch pretty easily, and this can really damage the look and feel of your laminate flooring. To make sure you keep clean laminate floors, you should try to minimise the damage that your furniture does to the laminate floor.
Furniture legs, especially heavy furniture, scrape along the laminate floor when moved and can dent and scratch up the surface. Lifting furniture when moving it helps to preserve the laminate floor.
You can also invest in soft furnishings to go beneath furniture, such as rugs or specially designed products to stop furniture legs from scratching the laminate flooring.
There's a lot of reasons why you should be careful when picking products to use on laminate flooring. But what products can you use to clean laminate floors? We know that too much water damages the laminate floor, so what are the other options?
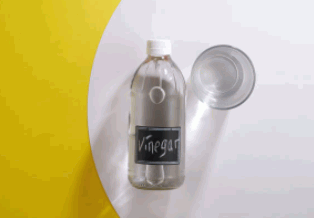
Trusty vinegar can be used for a whole range of cleaning processes, in place of highly chemical cleaning products. You can use a solution of vinegar and water to remove stains from laminate flooring by mixing around 60 ml of white vinegar in a 940 ml t0 1000 ml water spray bottle.
This method is the best way to clean laminate flooring when there are tough stains that are not coming out with a dry mop. Just be sure to dilute the vinegar, as on its own it is too abrasive for laminate. Abrasive cleaners can be really damaging to the laminate floors. You can use your solution in small areas at a time and wipe it up with a damp cloth or damp mop. Be sure not to leave it on the laminate floors for too long. You should dry the laminate floors when you're done.
Generally speaking, if you are buying a commercial product to clean your laminate floor with, you should be sure that it is marketed as laminate floor cleaner in order to prevent any damage to the laminate floors. In some cases, you can use baby shampoo.
Mix your detergent or laminate floor cleaner into some hot water and use a microfiber mop or microfiber cloth to wipe the floors, ensuring that you've squeezed most of the water out of the damp cloth.
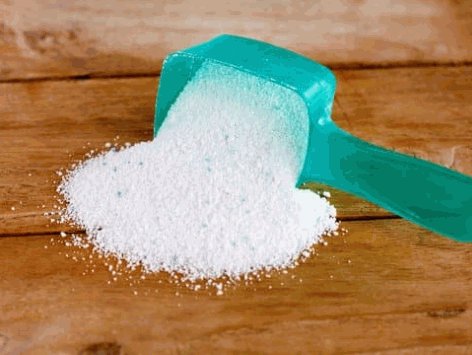
Sometimes, your laminate flooring will just be in need of a sweep. You can save all the mopping and deep cleaning laminate floors for when they really need it and just give your laminate floors a dry dust mop or sweep with a soft broom if you've noticed pet hair or debris building up.
Sometimes, using a damp cloth just won't do, and you will have to break out the big guns. For most stains, there is a way to remove them from your laminate flooring in order to get your laminate flooring clean again. If you've tried a dust mop and a damp or slightly wet mop, then these are the next port of call.
Check out: How do you clean upvc before painting?
To remove blood from laminate floors, use a window cleaner and a damp cloth, then dry the laminate floor with a dry cloth.
To remove pesky nail polish stains, you should use rubbing alcohol or a very small amount of nail polish remover.
You should catch this as soon as it happens and wipe off red wine using a damp microfiber cloth

To remove shoe polish you will need to use a gentle cloth and a small amount of rubbing alcohol.
Table Of Contents
Leather jackets are a wonderful fashion staple. They go with pretty much anything, they're warm, reliable, and they usually last for ages too. But sometimes, an older leather jacket can begin to look faded and aged or might be a colour that we thought we'd love forever but are now out of touch with. When this happens, all too often these brilliant pieces of fashion end up shoved at the back of the wardrobe and left there to gather dust.
This doesn't have to be the way! When you find yourself falling out of love with your leather jacket, why not just dye it? Dyeing leather is a great option to bring life back to your leather jacket and it really isn't very difficult, either. Here's what you need to know about using leather dye on your leather jacket.
Leather jackets aren't cheap items of clothing, so it's understandable that when you're considering dyeing leather, you'd want to be sure that the risks of ruining the item are minimal. Fortunately, there aren't too many risks to leather dyeing.
The first risk comes from whether or not the leather jacket that you're hoping to dye is real leather, or whether it is high enough quality to be able to withstand the leather dyes. Likewise, it's important to ensure you use a high enough quality leather dye that will not cause a streaky or blotchy leather finish on your jacket.
In addition to this, you should be sure to have plenty of your chosen leather dye around, as if you interrupt application and have to pause for too long, you may find that the dye is blotchy and uneven. Likewise, you should not interrupt the drying process when dyeing leather, as this can have the same result.

You should first and foremost clean the leather jacket using a clean cloth and warm soapy water. This will remove any dust, debris or dirt sitting on the leather surface. You should then use an oil soaked cloth and gently rub it all over the jacket.
Before you can begin to paint the leather jacket, you will need to remove the transparent manufactured finish that gives it its appearance. To do this, you will need to wear gloves and use your abrasive pad and the leather prep. Lay your leather jacket out on a table or floor covered in protective material so that you can get to as much of it as possible.
Apply the leather prep to the leather jacket carefully, and gently rub it in with your abrasive pad. You should do easy, long strokes with the abrasive pad. Be careful not to damage the leather jacket - you just want to agitate it enough so that when you come to dye leather, the dye can adhere properly.
Once you've done this, wipe the leather with a clean cloth to remove any excess colour or leather prep.
Check out: How to clean pram fabric
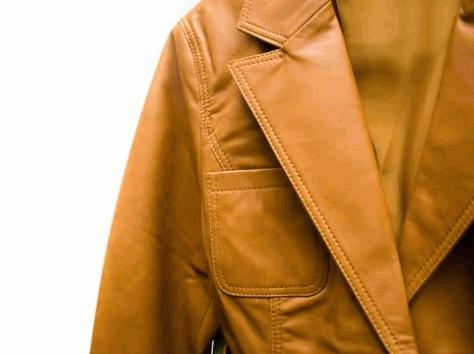
So now we are onto the fun part of how to dye a leather jacket. You should be sure that you wear gloves when you dye leather because otherwise you might find you've also dyed your hands too!
To start off with, you should prepare the dye by putting it somewhere you can reach that it isn't likely to get knocked. Then, either using a sponge, the spray applicator, a brush or the applicator provided by the dye company themselves.
Apply the dye in thin coats, and let your base coat dry completely before you continue onto the next coat. This will allow you to judge the colour and decide whether or not to continue with another thin layer of paint/dye. For a dark brown or black leather jacket, you are likely to find that you need to put more dye onto the leather to effectively cover the black. You will likely need multiple coats for any colour leather jacket.
Leather finish or leather sealant is used to keep the colour in and to provide the leather with the finish that you desire. You can get glossy leather finishes, matt leather finishes or somewhere in between.
Once your leather is completely dry and you're happy with the colour of the dyed leather, you can apply leather conditioner to the piece to help prevent cracks and fading. Natural oils like jojoba oil and olive oil work really well to ensure that your leather continues to look like the luxurious material it is. You can apply leather conditioner using a soft cotton rag. This is one of the few parts of the dyeing process that does not require multiple coats.
You should, however, try to condition your leather jacket on a regular basis to keep the material looking wonderful and to help avoid damage.
Table Of Contents
Not only are bidets sanitary, but they are better for the Environment, for your health, and mental well-being. Four bidet types exist on the market, and they are all sanitary. Plus, they help fight infections caused by bacteria as well as prevent vaginal and urinary tract infections.
But what is a bidet, and how does it work? Let me put my poop guru hat on! I will walk you through the magical world of buttock cleaning for the higher good.
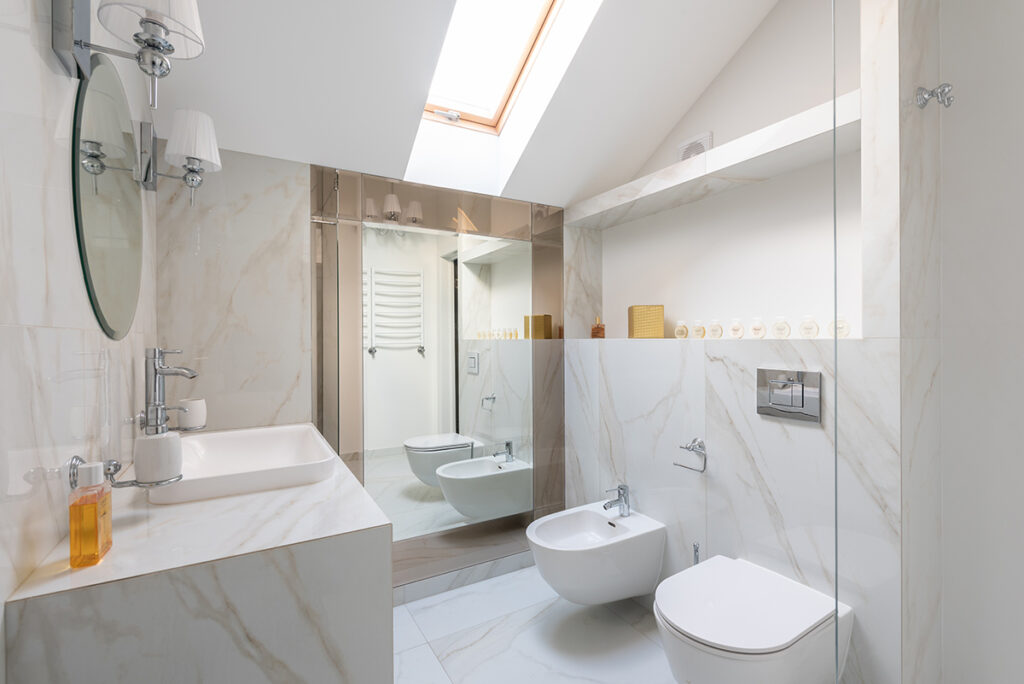
A Bidet is a plumbing fixture you add to your toilet. Depending on the bidet type, it sprays or directs water to your bottom. Mainly, it is popular in Europe, Japan, the Middle East, and some South-American countries. But it has been around since the 1700s.
As mentioned, the term bidet identifies four different tools with the same purpose:
Whenever you hear people praising bidets, they are usually talking about the first, original models. Let's see why.
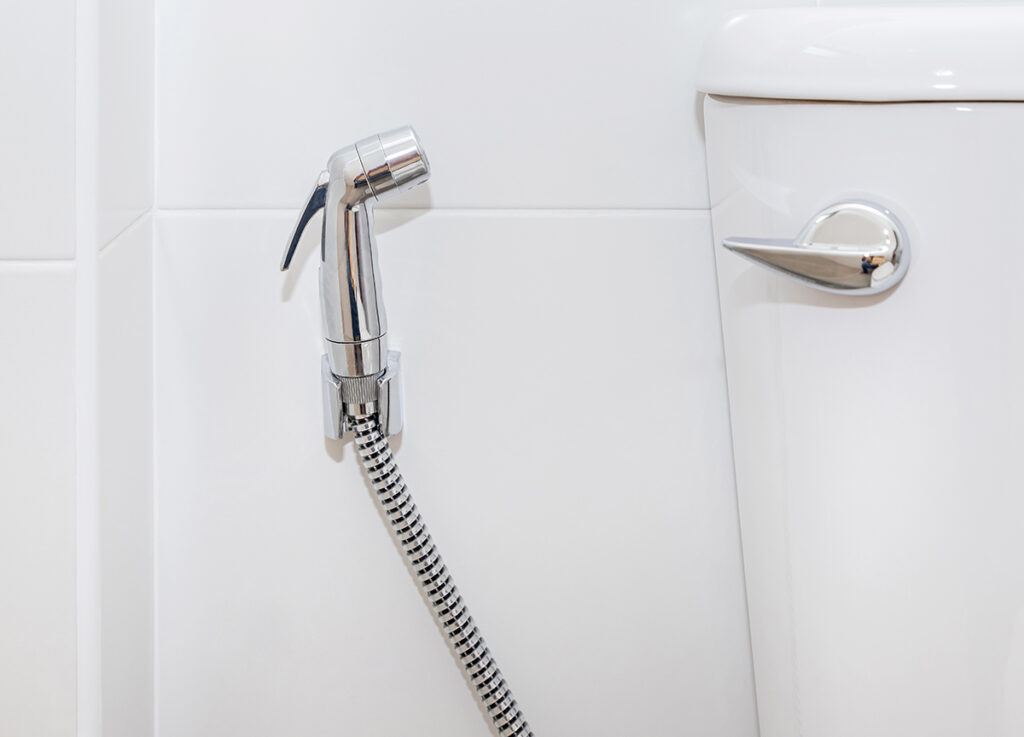
Bidet help with cleanliness. Let me use a quick example to explain. And while we are at it, recall a time you got a sticky substance on your hands. Maybe, it was strawberry jam or chocolate spread.
What happens when you use a paper towel to clean your messy hand?
If you had just a tiny drop of jam or chocolate spread, you would feel the hand a little bit sticky. But it would be tolerable. However, your hand would not be clean until you wash and rinse it with soap. Now, imagine having half of your hand dirty. No matter how many paper towels you are going to waste on it, it will remain sticky.
You see, our bodies somehow manage not to bother us when our rears get messy. But until you clean those cheeks with soap and water, you will remain dirty. For most people, that time only comes when they shower.
A bidet puts a stop to such a nonsensical approach to cleanliness and hygiene.
Before you find out how using a bidet can combat climate change, here are the pros of bidetting regularly and correctly:
If you are looking for another way to help the climate, get a bidet. Why? Because using a bidet can save up to 384 trees per person.
Also, you consume less water. When producing those extra toilet papers, factories use a lot of water. (Almost 37 gallons of water per toilet paper roll VS 1/8th of a gallon for a backdoor wash.)
People who wonder if bidets are sanitary do not usually know how to use them. Or, more precisely, how to use them correctly. For there is more than one way to wash your body while doing more harm than good.
First of all, you need two essential tools:
In most European countries, the towels for bidetting have a specific name. Their sizes varies from 19.69 x 11.81 inches (30x50 cm) to 19.69 x 15.75 inches (40×50 cm).
Letting a water jet or spray wash away some of your poop will not do you good. This is why the original bidet model is superior to the rest.
Most Europeans still use some toilet paper to take away the excess filth. But you do not have to go crazy either because you will wash everything off anyway. I guess it is just a matter of how gross you do or do not want the cleaning to get.
The best way to use a bidet is to sit with the faucet in front of you. Then, you put the gentle liquid soap on your hand and start smearing the soap. You use the other hand to control the hot/cold water.
Women should avoid motioning from the back to the front to prevent germs from moving from the back to the front door, which will cause infections.
Also, go easy on the hot water. You do not want to splash boiling water on yourself.
At first, it may require some coordination. But it is a simple task that only requires some first-hand experience. Cleaning it all is a delightful sensation that clears your mind and makes you feel happy. Plus, it is more practical than taking a shower every time you poop.
Yes, bidets are sanitary. There is no question about it.
Even though in some countries there are people that use only water to wash their rears, the usage remains the same. And in the end, water and soap are way better than chemicals that cause rashes and other health issues.
If you install a stand-alone bidet, the many benefits include relaxing footbaths and waist-level bucket holding. And if you install one of the other types, you will experience a better approach to bathroom hygiene that will likely expand your mind.
So now you are inspired why not view some of our articles on interior home design to really get your creativity flowing. We cover plenty of rooms within the home such as home offices, living rooms, dining rooms, bedrooms and bathrooms!
Table Of Contents
The implementation of utility rooms and laundry rooms are becoming more and more popular in our homes. But we want to know, utility rooms vs laundry rooms: what's the difference?
In a perfect world, our homes would have a designated space for every activity. But as it turns out, many of us have to make do with what we have. We may not have enough space for a garage or an office or a playroom, but that doesn't mean we can't cram in a utility room where the laundry and mop buckets reside. However, many people don't know the difference between a utility room and a laundry room. The two spaces are similar in some ways, but they can also be quite different. What is the difference? Find out below!
A utility room is an enclosed space that houses one (or more) devices that are used to clean the house. This could be a washing machine, dryer, vacuum cleaner, or other cleaning equipment. The utility room usually has its own door and is often inside the house. A laundry room is different because it's not enclosed and it doesn't house any devices for cleaning. Instead, this space contains a washer and dryer as well as folding tables or other surfaces for folding clothes.
Laundry rooms are usually located outside of the home in order to provide easy access to water and electricity sources. Utility rooms can also be found outside of the home but they are usually inside the home--and sometimes even attached to the living area of the house.
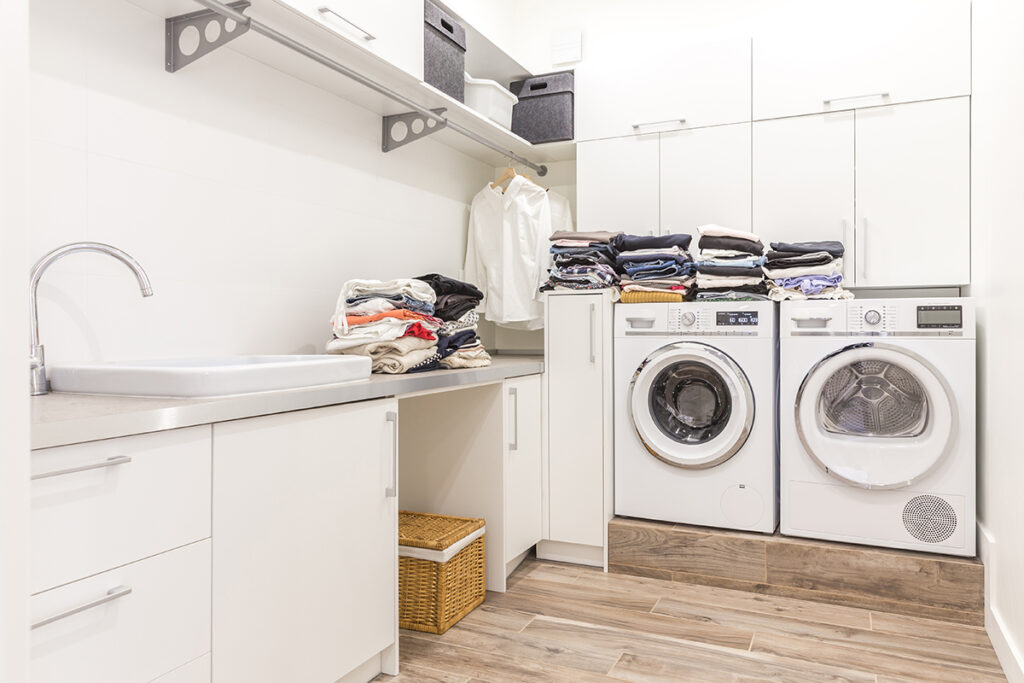
A utility room is one of the most multipurpose rooms in the house. It serves as a place for all sorts of household functions that are often too dirty or messy to take place elsewhere.
Utility rooms are used for laundry, pantry storage, recycling, and cleaning items like brooms and mops. Utility rooms also come in handy when the dishwasher is full and there's no more space in the kitchen sink.
It is important to note that utility rooms are usually filled with heavy-duty appliances like washing machines, dryers, and floor scrubbers. These items can be dangerous when not secured properly so it's best to have a designated space just for them.
The size of your utility room will depend on how much you need it to hold. If you have kids who want their own playroom or an office, then you may want a larger space with plenty of shelving or storage areas for toys or work supplies. On the other hand, if you only use your utility room for laundry and mop buckets then it will suffice with less space.
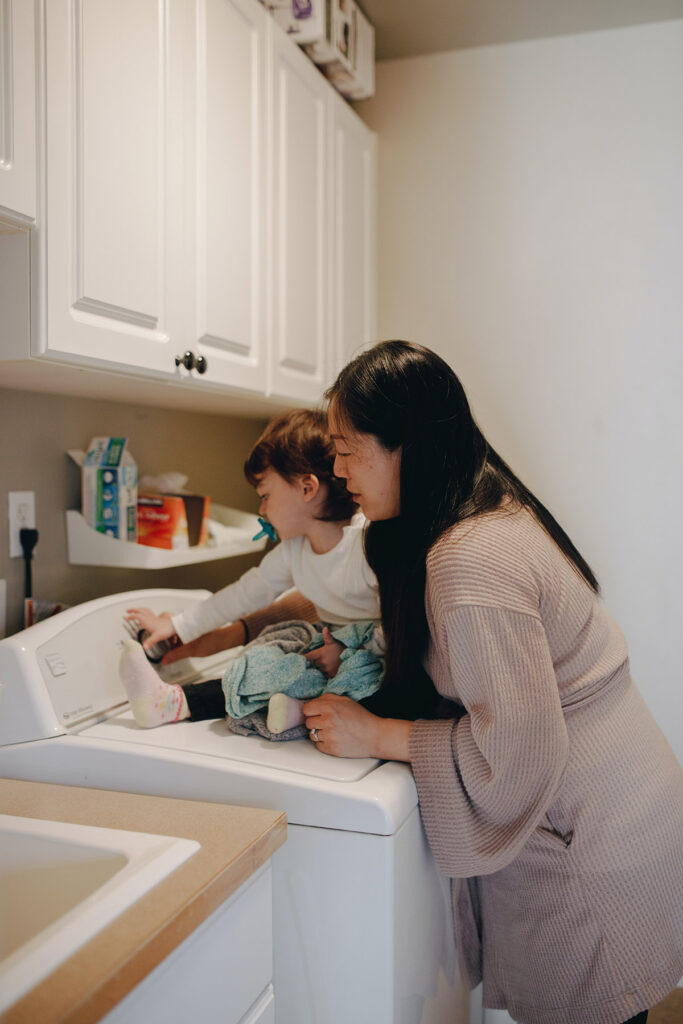
The laundry room is often where you do your laundry. It can also be the place where you fold your clothes, put away the dryer, and store any cleaning products or other items that pertain to doing chores. You may find a washing machine and/or dryer in this space.
The first thing to know is that they are different. Utility rooms are often found in the basement or other out-of-the-way places, while laundry rooms are usually found on the main level of the home. A utility room generally houses laundry machines, cleaning supplies, and other items for household maintenance. A laundry room has a washing machine, dryer, and sink.
A utility room generally houses laundry machines, cleaning supplies, and other items for household maintenance.
A laundry room has a washing machine, dryer, and sink.
Utility rooms are often found in the basement or other out-of-the-way places while laundry rooms are usually found on the main level of the home.
Utility rooms are often considered to be more convenient than a laundry room because they allow homeowners to do their laundry without taking up much of their living space. A half-bathroom enclosed space, the utility room is a common fixture in modern homes and apartments.
Because it's so small, a utility room can be advantageous for those who have limited living space. But not only that! Utility rooms can be found in smaller homes or apartments, which means that if you've just moved into a small place and don't want to take over your entire living area with housekeeping equipment, it's worth considering installing one.
The first advantage of having a laundry room is that it's spacious. A laundry room typically consists of a water heater, washer, dryer, and some housekeeping equipment. Many people don't have the extra space in their home to dedicate to an additional room. This space can be found in larger homes or apartments with more living space.
Another advantage of a laundry room is that it's easily accessible. When you use a utility room, you will need to go through your home to get there. Laundry rooms are usually on the same level as your bedrooms or on the ground floor near the kitchen area.
A final advantage of having a laundry room is that it has more storage available than a utility room does. Utility rooms are typically half-bathrooms with very limited storage space, but laundry rooms have lots of storage for miscellaneous items like cleaning supplies and food items.
A utility room is a room that houses laundry appliances and tools. This room can be found on the second floor, and it has enough space for an appliance like a dryer or washer, as well as cleaning supplies and other materials. A laundry room is a place where you can do your laundry. Some homes have their laundry room off the kitchen so they can easily transfer clean clothes from the washing machine to the dryer or vice versa. Others may put their laundry area near their living space for convenience sake.
Utility rooms generally offer more storage than traditional laundry rooms, which makes them ideal if you need to store lots of cleaning supplies and other items that go with doing laundry. Laundry rooms may be more practical if you want to do your laundry right away and don't want to go upstairs to get detergent or dryer sheets.
Both spaces will provide convenience and are often found in the same home. The difference between them is in what they are used for primarily - but either way, they are both great choices when it comes to adding space!
If you are unsure about whether you should have a utility room or a laundry room, consider the differences between the two.
Utility rooms are good for getting items that are not dirty to the laundry room, while laundry rooms are good for getting items that are dirty to the laundry.
A utility room is more useful if you have a lot of non-dirty items that need to get to the laundry room, but a laundry room is more useful if you have a lot of dirty items.
If you need to be able to get both types of items to the other room, it might be best to have both!
Table Of Contents
There are so many unused rooms in most houses with nobody is making use of them. This poises the question "what to do with a spare room?" It is time you brought life back into these rooms and smartly used them to keep your home organized and store things away for safekeeping. If you have a spare room at your disposal, then you can make the best out of it by using it intelligently and saving on your expenses as well. The good news is there are ways to do so. In this blog, we'll discuss what to do with a spare room.

Spare bedrooms are best used as storage rooms. You can use them to store everything you don't want to see every day but still need them. The items in your spare room should be things that you do not need daily and are not essential for your day-to-day life. For example, if you have a lot of winter clothes, it is better to keep them in a separate room so that they do not take up space in your living room.
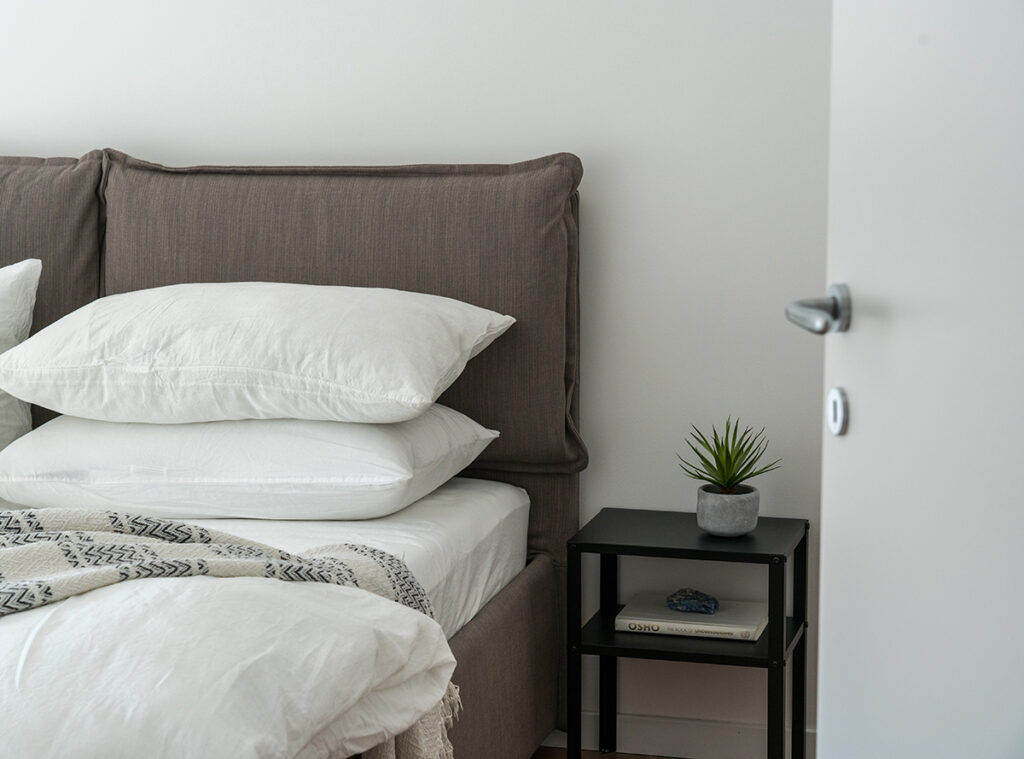
If you have friends or relatives visiting you often, your spare bedroom can be used as a guest room. You can put comfortable furniture in the room, and it will be easier for your guests to relax there after a long day. Guests can also use the space to work on their laptops and other gadgets if they stay long.
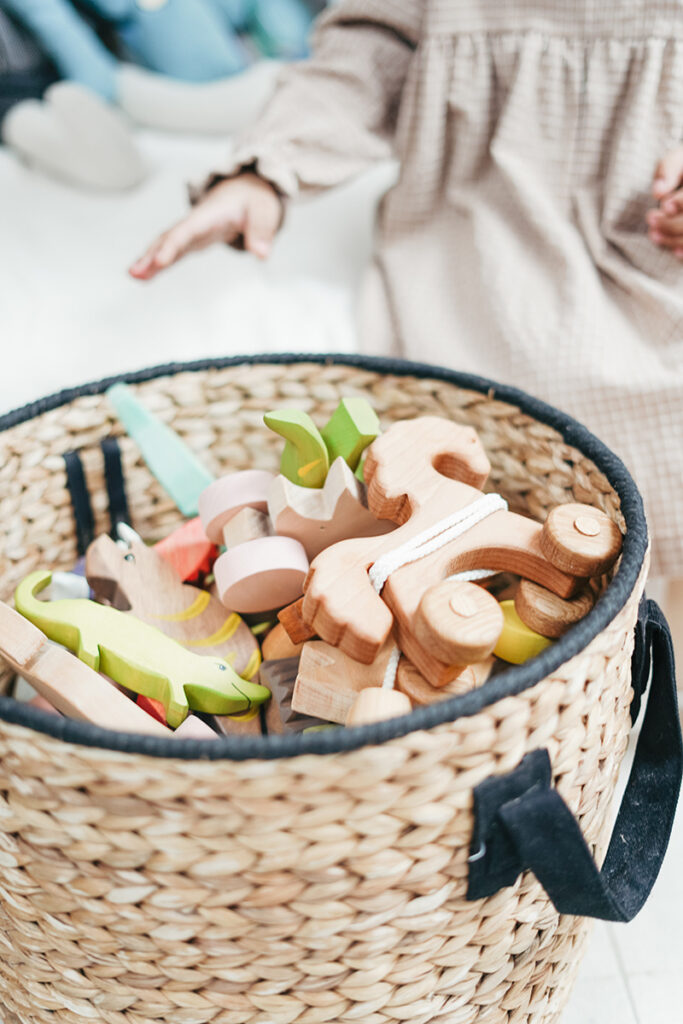
If you have kids and you're wondering what to do with a spare room. It can be converted into a playroom. You can buy all kinds of toys for your kids and let them play there when they are bored or have nothing to do. The kids will surely love it because they will have their own private space to play with their toys without disturbing anyone else in the house.

You can convert your spare bedroom into an additional home office. It is perfect for you if you are a working person and do not have enough space in your office to store all of your files. You can keep all of your essential documents in the spare bedroom and bring them whenever you need them. The spare bedroom can also be used as a quiet place to work if you find it hard to concentrate in your office. You can decorate the spare bedroom with furniture suitable for an office.
The spare room can be turned into a dining area. You can place a dining table and some chairs in the room. Decorate the walls with art pieces to make them look more appealing. The spare room can be a dining area for small parties and get-togethers.
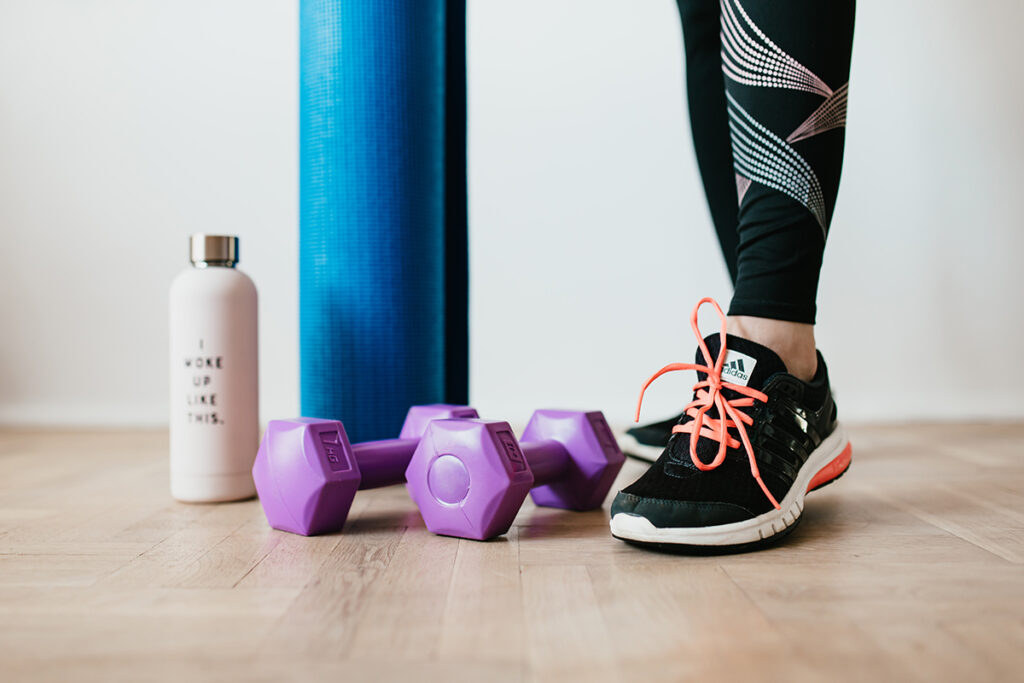
If you have a lot of exercise equipment, the spare room can be turned into a home gym. If you don't have much equipment, it is still possible to turn the space into a home gym. You can put in some fitness equipment like an exercise bike and treadmill. To make it look better, add mirrors on the walls to reflect your workout movements.
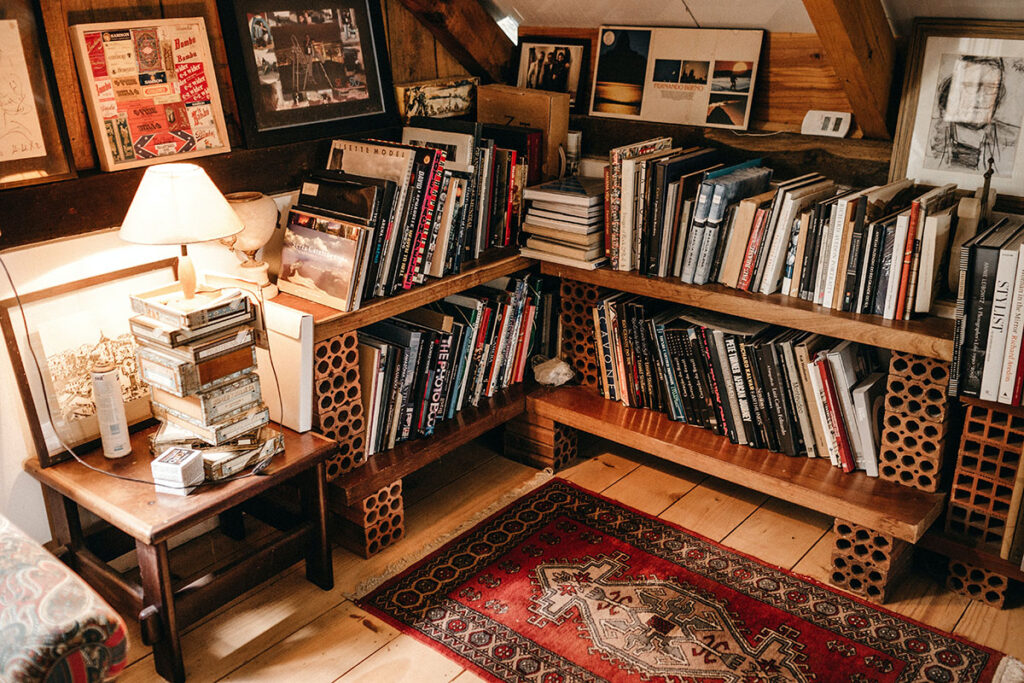
Do you have many books? Well, the spare room can be turned into a library. Just put in some comfortable chairs and bookshelves. You can also add lighting to make it look brighter. This is perfect for those who like reading at home. The books will be in a place where you can easily access them.

Music lovers can turn the room into a music room. Put in a piano, drum set, and other musical instruments. If you have enough space, you can also add more chairs and tables for the guests who would like to listen to your performance. This is perfect for those who love singing or playing musical instruments. This will also be great if you teach someone how to play an instrument. A bed can be placed on the top floor for those who love sleeping or reading. This will be a perfect place to stay if you avoid the noisy party downstairs.
Have you ever wanted to have an arcade room in your house? Well, now is the time! Convert the free space into a room for arcade games like a pinball machine, air hockey table, or pool table. You can even make a virtual reality room with the HTC Vive. The arcade room is all about fun and games!

Music is a big part of everyone's life, so why not use the bedroom as a recording studio? You can play music or record your song in your free time. The recording equipment are expensive and require a safe place to put it. It's also risky to put in a recording studio, as there is no privacy.
Drinking is a popular pastime for many people, so why not put it in a home bar? A home bar can also be a meeting place for family and friends. The home bar needs to be made of glass, where drinks are served. It also needs to have cupboards and storage not to waste the drinks.

A home cinema is something that most teenagers want, as they enjoy watching movies with their friends and family. The home cinema needs to be spacious and have the latest technology. With the free bedrooms, you have the space you need. The seating should be comfortable, as the home cinema is used for entertainment.

A pet room is something that teenagers want, as they want to keep pets at home. The pet room should be spacious and should have a good ventilation system. The room needs to be equipped with the latest technology, and there should be enough space for the pet to move around.
A cleaning and laundry room is something that will help to reduce the workload of a housewife. The cleaning and laundry rooms should be spacious and well-equipped with the latest technology. There should be enough space for movement, as there are chances of clothes getting scattered in all directions. Spare rooms can provide the space you need to set up the laundry room.
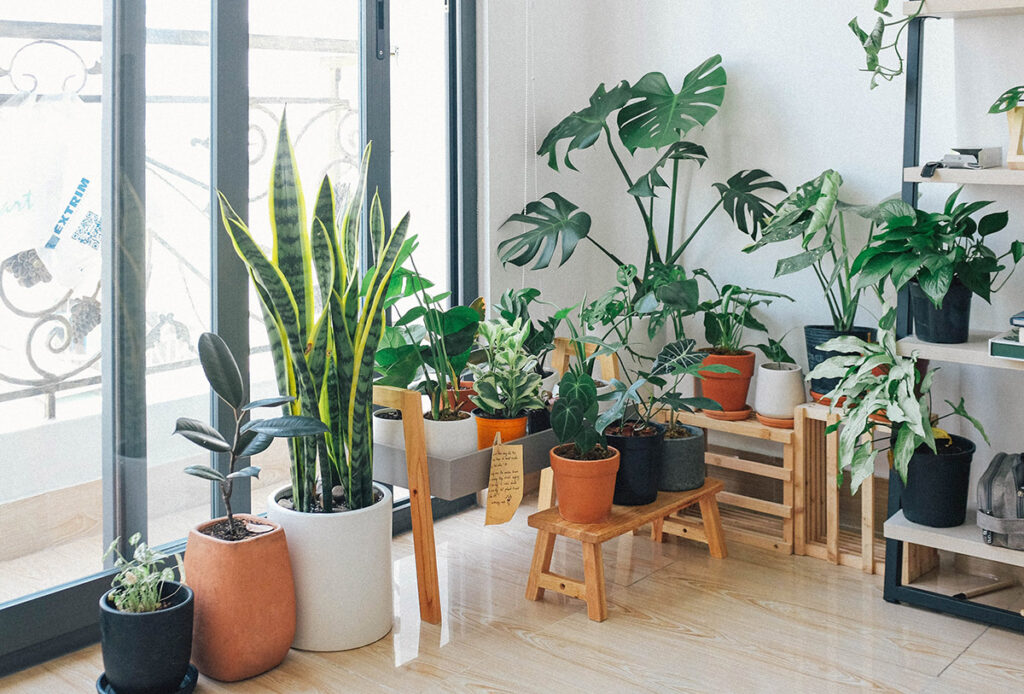
If there is an open space in your home, it can be converted into a garden. A garden adds beauty to the house and helps you relax after a long day at work. You can even grow vegetables in your garden, which will reduce your monthly grocery bills. The garden can be used to grow flowers and herbs too.
Do you have an unused spare room? You can utilize the space by converting it into a usable space. This blog has covered some of the best ways to use free rooms smartly.
So now you are inspired why not view some of our articles on interior home design to really get your creativity flowing. We cover plenty of rooms within the home such as home offices, living rooms, dining rooms, bedrooms and bathrooms!
Table Of Contents
Can you stain concrete pavers? As a homeowner, you are always looking for ways to increase the value of your home. One way to do this is by making it more visually appealing. Concrete pavers are an inexpensive way to improve your curb appeal.
But what if you have concrete pavers that are already stained? Can you stain them again? Below are some answers to commonly asked questions about this topic.
There are many different stains that you can use to stain concrete pavers. You can use a sealant or no sealant depending on what you would like the final result to be. A sealant will create a permanent, water-resistant barrier that will protect your pavers for years. Stains without sealants will work best if you want the stain to be semi-permanent.
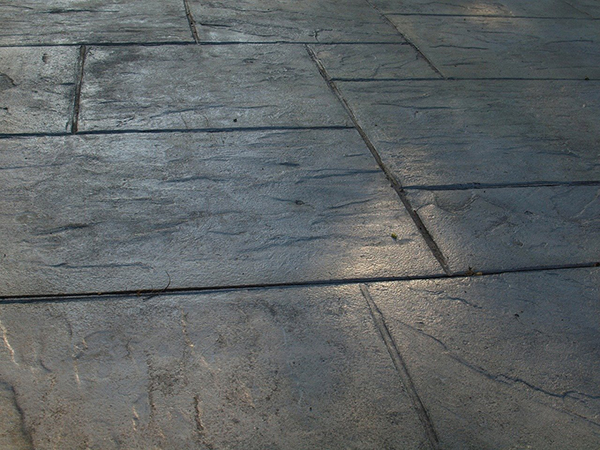
Yes. Concrete pavers can be stained to improve curb appeal.
One way to do this is by using a concrete sealer, a water-based product applied with a brush or a roller. This will help protect the concrete and also improve its appearance. Another option is to use an acid stain, which penetrates the surface of the concrete and gives it a vibrant color that will not wash or wear away with time. These stains are great for those who want something more intense than what you would get from a sealer.
According to some professionals, this is not a good idea as the color will not be as rich as it would be on a new surface. You can always paint your pavers or use a sealant for a more durable finish. If you have already stained your concrete pavers but want to change the color, you could apply one coat of sealant first and then follow up with an acid stain. After the acid stain has dried, you can reapply another coat of sealant to make it last longer and make your new color pop even more.
The type of stain you will need to use depends on what type of stains are already on the concrete.
First, you should determine if the existing stains are a sealant or a color. If it is a sealant, you may remove the old sealant and reapply a new one. If it is a stain, then you can consider using a different color. In either case, test out your options first, so you know what the results will look like before making any permanent changes.
If your original stain was from sealants, many different types are available for purchase from various stores and online shops. The color, texture, and finish of the product will vary depending on your needs and preferences.
It's best to test out what works for you before making irreversible changes to your concrete pavers.
Tools that will be needed when staining your concrete pavers include :
Remember to always wear protective gear when working with chemical products. It is always best to have the right equipment before starting any type of project.
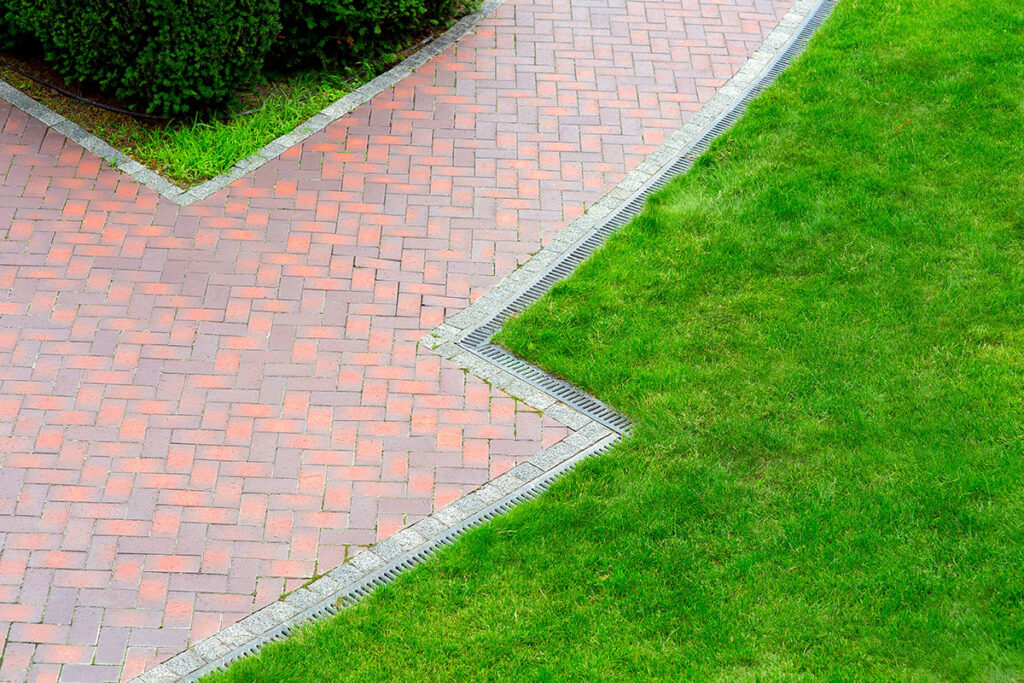
You will need to evaluate the condition of your concrete pavers and determine how often you should apply a new coat of stain. If your current stain is still looking good, you may want to wait for it to fade before applying another coat. If your current stain is fading or if it has turned a darker color, then now is the time to apply a new coat. The more often you stain your concrete, the better it will look.
One of the most common questions people have is how they can ensure that the stain is evenly applied and will not be blotchy. It's important to follow directions on the stain packaging and use a long handle roller. This will allow you to apply even pressure across the surface of the stained concrete pavers, ensuring an even coat without any areas that were missed or over-saturated. There are many ways you can make the process of staining your concrete pavers easier. One way is to use a pressure washer before the staining process. This will help remove any dirt, oil, or other substances on the surface.
Another way to do this is by removing any excess water that may have pooled on the concrete before brushing it with a stiff-bristled brush. After this is done, you are ready to stain your concrete pavers and make them look beautiful again!

It depends on the, if your concrete pavers are new, it's worth it. If you want to keep the paver stain looking good for a long time, you should brush off dirt and remove any grass clippings. If you have stained concrete pavers that are already 5-10 years old, then staining them again means they will be more difficult to clean.
As you can see, it is possible to use concrete pavers to improve your home's kerbs appeal. However, the process requires time, effort, and money. The following things need to be considered before deciding whether or not this is worth the effort for you.
Like any other type of paving, concrete pavers require upkeep to maintain their appearance. One way to keep them looking their best is to stain them. This straightforward process can be done in a few hours with the right tools and skills. If you are looking for a long-lasting solution for your concrete pavers, make sure you are using the right product with the right color for your needs. Not all stains are created equal, though. You want to make sure you are using a high-quality product that will adhere to the pavers without running or drying out too quickly.
Thanks for reading our article on answering the question ''can you stain concrete pavers?'' While you are here why not head over to our blog section and read some of our articles covering many topics including outdoor, billiards room and other indoor areas!
Table Of Contents
The Self Storage Association UK recently published that the number of storage facilities in the UK is steadily increasing. The self storage industry has experienced a considerable boost. Just in 2019, the SSA UK estimates that the industry racked up to £720 million in revenue.
As more and more residents pile to the city, it cannot be helped that space become a limited and valuable resource. Rental fees skyrocket because the demand is high. This leaves residents scrambling for cheaper rent.
Downsizing, for instance, has become a constant reality not just in London, but to neighbouring cities as well such as Brighton. In this article, we will discuss the top reasons why you should rent a self storage facility in Brighton.
There are many reasons as to why people rent a storage facility. The need for space is a universal experience. The convenience that it brings can be quite convincing.
Rental costs are rising. This phenomenon is not only exclusive to London anymore. Neighbouring cities like Brighton have experienced this as well. Many ex-Londoners have moved to Brighton as it is only an hour away from the capital. They would live in Brighton and travel to work every day.
Unfortunately, this influx of residents has led to inflated rental fees. BBC News recently reported that for some people, almost 50% of their salary goes just for rent. Original residents of Brighton are forced to downsize to be able to afford the rent. Downsizing is the process of moving out of your current house and transferring to a smaller and cheaper place.
Finding storage units in Brighton has become common practice for residents. With a self storage unit, homeowners can keep all of their non-essentials without cluttering their homes. Additionally, this means they don’t have to spring for a bigger house.
Speaking of non-essentials, another common reason why Brighton residents rent self storage is so they can declutter their houses. A professional home organiser found in a survey that the average home houses over 300, 000 items. Only a small percentage of these items are needed in the day-to-day lives of their homeowners, the rest could be classified as clutter.
Seasonal clothes such as winter fur coats, unused furniture, and old books are just some of the aforementioned items that are best kept in a storage unit. By doing this, you do yourself a favour by giving yourself the gift of space.
Once you have finished decluttering, it’s time to give your house a makeover. Check out this stunning mix of styles to create a fun, lively, and happy atmosphere in your house
.
Experts recommend that seniors live in smaller houses and flats. This way, they won’t have to cover much distance to accomplish daily tasks. An apartment with smaller square footage would also require less maintenance, perfect for the elderly. All of the items that they don’t need but can’t throw away because it has value are shipped off to storage.
Divorce is a tricky business. No matter how clean the break is, the separation can still come with a high level of emotional and financial stress. The court usually suggests that a storage unit be used to house the items that are to be divided between the couple. With emotions running high, some people become irrational and take out their anger on their ex-husband’s prized Ferrari or trophy collection. As such, it is a general protocol to ensure that no harm falls on them while the settlements are in order.
If you’re moving to a new place and selling your house, it’s important that you rent a storage facility. You can easily stage an open home with potential buyers when your house is empty of your possessions. After all, who would want to pay a premium price on a property that already looks “lived in.” When staging open houses, you want to offer a spacious and clean house, just waiting for the next owner to move in.
When you’re renovating your house, experts recommend that you let your contractors work in an empty house. This means that all of your items should be in a self storage facility instead of scattered about your home. Large furniture and appliances can easily get in the way and increase the time needed to complete the project.
They are also in the way of danger, especially with heavy construction work in progress. Even a simple job like adding Brick Wall interiors can be made complicated with your items present. Do yourself, your things, and your contractors a favour and just ship them off to storage.
If you’re moving to Brighton and you’re new to the area, it’s best to rent a storage facility for a few weeks. Let yourself get settled in first before you unpack your life. Just bring the essentials: clothes, shower supplies, some necessary kitchen equipment, and then send the rest to storage. This way, you get to go around Brighton first and feel comfortable with this coastal city before you start opening boxes.
Business is booming in Brighton. Regardless of industry, the incoming tourists and residents from all over the world have made Brighton’s economy as one of the fastest-growing in the country. If you’re a business owner in Brighton, one trick to reduce overhead costs is to ship all of the items you don’t need for daily operations to storage.
This includes excess stock, inventory, unused office equipment, company files, and the like. When you keep them on-site, you clutter up your office space, which could lead to decreased productivity from your employees. Also, there are