Table Of Contents
uPVC windows are very common in a range of properties, and for good reason. They're inexpensive, easy to maintain and, when the time comes to change them up, you can paint uPVC windows pretty easily! They are, in essence, plastic window frames, and as such can be painted with specialist paint to almost any colour that you want. Whether you're after something trendy and intend to paint your white upvc windows grey, or whether you're just freshening up your brown upvc windows, getting your uPVC windows sprayed is a great way to refresh the appearance of your home.
When you decide to paint plastic window frames, however, you will need to clean your uPVC windows first in order to get the best results. This is a key step when you start to paint uPVC windows, and failing to do it could result in a low-standard paint job.
How To Clean Plastic Window Frames
Once you've decided that you're going to spray paint your window and door frames, you'll need to gather all the equipment you need, including the stuff to adequately clean and prepare your uPVC window sills and window frames. You will need:
- Rubber gloves
- A damp cloth
- Warm water
- A hard bristle brush
- Scouring pad or light sandpaper
- Dry cloth
- uPVC cleaner
When you're ready, you can begin cleaning. Simply follow these steps to prepare uPVC windows for spray paint or brush paint to ensure that your newly painted windows will look as good as you want them to. You can also use these steps to paint a uPVC door or uPVC door frames.
Check out: Wood and windows in hallway

1. Remove Window Furniture
The first thing that you need to do when getting ready to paint uPVC windows is remove anything stuck to your window sills or window panes. This might be bird feeding boxes, planters, stickers, hanging baskets - whatever you've got hanging from or obscuring your window frames needs to be removed.
2. Remove Any Dirt
Then, once your uPVC windows are free of their furnishings, you can use a hard bristle brush to sweep away any dirt or debris. This might be sand from the air, soil from planters, cat hair, dust, grass, etc. Simply sweep it off of the uPVC windows so that you can continue to paint uPVC windows without any marks beneath the paint.
3. Use The Damp Cloth
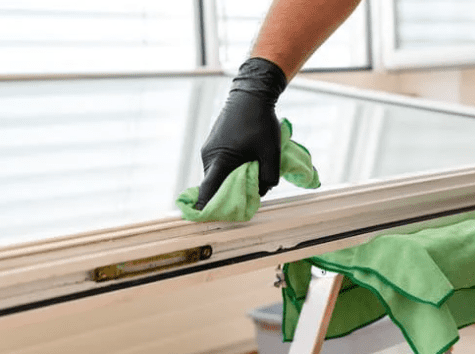
Simply dusting your uPVC windows is not enough to prepare uPVC windows for painting. You will also need to clean your window frames with a wet cloth. Dip your cloth or rag in warm water with a small drop of detergent or soap in, and simply run it up and down the uPVC window frames to remove any marks, dirt or ingrained muck from the plastic window frames.
4. Remove The Top Layer
uPVC has a waxy and smooth top layer to help it look good. However, when you try to paint uPVC windows, this can just get in the way. It does not allow the uPVC paint to adhere to the surface properly, and will cause your uPVC window frames to look a little tatty after you've finished painting uPVC windows.
To remove it, use either light sandpaper or a scouring pad and rub the uPVC surface all over to wear away the waxy layer. This should not take too long and will really help spray paint or normal paint to adhere to the surface.
5. Use A uPVC Cleaner
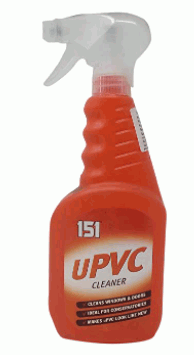
This is optional, and you can likely get a great standard of paint job even if you skip this step. Using uPVC cleaner will, though, help to ensure that you get a completely smooth finish. It's a great tip when it comes to cleaning uPVC windows for painting, and is super easy to do.
Simply use a drop or two of uPVC cleaner and run it over the uPVC windows with your damp cloth and then rinse.
6. Dry The uPVC Window
Once you've done all of the above, it's time to try the window frames using a dry cloth. You can just leave your windows to dry naturally, but if you intend to paint uPVC windows that day, you may wish to dry them with a cloth for speed. You can also buff the surface in this step if you so choose.
Painting uPVC Windows
Once the cleaning is done, you can get on with painting uPVC windows. To do so, you will need:
- uPVC paint
- uPVC primer
- Protective coverings
- Painter's tape
- A brush or spray gun
- Goggles and protective coverings for your clothes (or clothes that you don't mind getting ruined)
When you have all of that ready, you can begin to paint uPVC windows.
Top Tips For When You Paint uPVC Windows
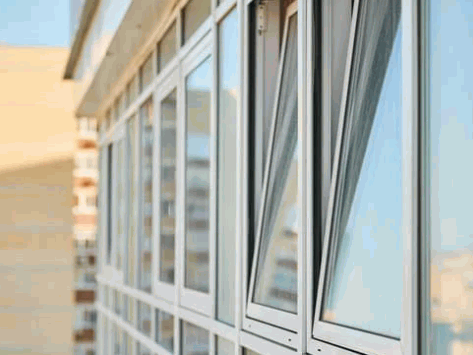
Once you have done all the work to prepare uPVC windows and you're ready to break out the paint, there are a few things that can really make the difference between a good uPVC paint job and a bad one. If you're going to paint uPVC windows to make your home look better, or you're painting uPVC windows to improve the value of your home, then follow these tips to make painting uPVC an easier and smoother process.
Check out: Chic urban australian home living
1. Spray Paint Is Better Than Hand-Painting uPVC Windows
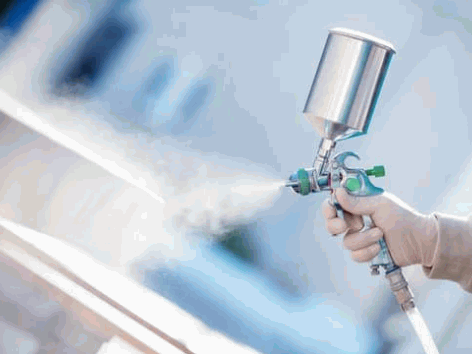
When you paint uPVC window frames, you can choose between hand painting your uPVC window with a brush or using spray paint to paint uPVC window frames. Spray paint is, by far, the best option. It's quicker, smoother, and easier to apply even layers. It's also better for use on uPVC doors as it gets more area covered in a short time span.
2. Make Sure To Apply At Least Three Coats
Once you've applied primer, you should apply a first coat. From there, let each coat dry and continue to pile the coats on top of one another until your uPVC windows are a colour that you like. When painting uPVC windows, you will likely find that the colour deepens with more layers, so you can keep going until the colour is just right for your uPVC window.


